Image by Patti Brady https://www.artistsnetwork.com/art-

Introduction
This article has taken sometime to put together and is a long read, so I have split it into 2 pieces, part 2 will follow in 2026. Be prepared for some failures along the way as things dont always go as planned. Never the less its worth playing with this process as some of the results can be quite interesting. I have to thank many of the artists who have shared their experiences on the internet as these have helped contribute to this piece, they will be listed in part 2.
Faux encaustic (or imitation encaustic) painting is a wax free way to achieve a similar look to traditional encaustic (hot wax) art using acrylic paints, collage, and modern acrylic mediums. This guide will take you from the basics of encaustic to advanced techniques for replicating its translucent, layered, “waxy” effects with acrylic products. We’ll cover a brief history of true encaustic, then dive into step by step tutorials, acrylic medium recipes, and examples of artists who excel at faux encaustic. By the end, you’ll know how to create luminous multi layered artworks on panels, no hot wax or special equipment required. I have tried these methods and one thing I have learned is that you shouldn’t go to thick with the mediums, you can always go with another coat if you haven’t got the right effect that you want.
A Brief History of Encaustic Painting (Wax Art)
Encaustic painting, from the Greek enkaustikos meaning “to burn in,” is an ancient art form dating back over two millennia. Traditional encaustic involves mixing pigment with molten beeswax (often tempered with damar resin) and applying it to a surface (typically a wood panel) while hot . Each layer of wax must be fused with heat to the layer below, this is done with heated tools like electric paint strippers or hot irons, hence the name “burning in”.
Early practitioners, such as the painters of the Egyptian Fayum mummy portraits (c. 100–300 CE), achieved rich, luminous colours and lifelike depth by working swiftly with hot wax that would solidify quickly. Ancient texts by Roman scholar Pliny the Elder describe methods for “Punic wax,” a purified beeswax used by Greek artists. Encaustic art flourished in Classical Antiquity (the 4th-century Greek painter Pausias was famed for it) and in Byzantine icon painting . The technique saw a revival in the 20th century (notably by artist Jasper Johns) and continues to attract artists for its dimensional quality and luminous colour.
In true encaustic, the artist keeps the wax medium molten on a heated palette. They apply it with brushes then manipulate or sculpt it with metal spatulas, knives, or specialized heated styluses. Each new layer of wax must be reheated (with a heat gun, torch, or iron) to fuse it to previous layers, creating a permanent bond. Artists can carve into cooled wax (a technique called sgraffito), embed objects or collage materials into the wax, and even polish the surface to a soft sheen once it’s hardened. The result is a tactile, translucent layered painting with a distinctive waxy appearance and depth.
Why Create Faux Encaustic with Acrylics.
While stunning, traditional encaustic requires hot wax, ventilation (to avoid inhaling fumes), and quite a bit of setup (heat sources, special tools, and careful substrate prep). Faux encaustic techniques were developed so artists can achieve a similar look without wax or heat . By using acrylic mediums, you can mimic the misty layers, embedded collage, and satiny wax finish in a way that’s accessible to anyone with acrylic painting supplies. Key benefits include:
- No heat or fumes: Acrylic “wax” layers dry at room temperature. You avoid working with open flames or hot plates, making it safer and simpler for a home or classroom setting.
- Easy integration with mixed media, Acrylic mediums allow you to seamlessly combine painting, photo transfers, inks, and collage in your layers . The layers dry permanently and don’t remelt, so you can work incrementally over time.
- Availability of colours and effects: You can use any acrylic paint (heavy-body, fluid, or ink) to tint your “wax” layers, giving unlimited colour options. You can also incorporate iridescent or interference paints for the luminous sheen of real beeswax .
- Less cost and mess: No need to buy blocks of beeswax or encaustic paints, you likely have acrylic supplies already. Cleanup is just soap and water (no solvents required).
- Control and versatility: Acrylic mediums can be adjusted in viscosity from a thick gel (for textured, impasto “wax” buildup) to a fluid glaze (for smooth, glassy coats). You can even pour acrylic medium for a resin-like topcoat that simulates a glossy wax surface .
In short, faux encaustic techniques let you capture the dreamy, layered look of wax without the extra hassle. Many contemporary mixed media artists use this approach to add depth and atmosphere to their paintings.
Key Acrylic Mediums for Faux Encaustic Effects
The acrylic mediums are the players in creating a wax like look. Each medium has unique properties that we can exploit for encaustic effects, I use mainly Golden Acrylics.
- Matte Gel Medium: A thick acrylic gel that dries with a flat, translucent matte finish. Because matte gels contain a fine white matting agent, they dry to a velvety, “hazy” look like beeswax . Matte gel (heavy, regular, or soft consistency) is ideal for building up layers that resemble the soft sheen of wax. It also works as a glue for collage, use it to laminate paper or objects to your panel and to cover them with a waxy layer, (Soft Gel Matte is often used for this purpose.)
- Gloss Gel Medium: A gel with a glossy finish that dries clear. Gloss gels (and gloss heavy-body mediums) will give more depth and transparency than matte useful if you want some layers to be completely clear or to embed elements visibly. Many artists mix a bit of gloss gel into matte gel to increase translucency while still keeping some wax like opalescence . Gloss gels can also act as a final topcoat for a wet look shine, though pure gloss can look more like resin than wax (consider buffing with steel wool for a satin finish, or use a semi gloss gel for a happy medium).
- Fluid Gloss Medium/Polymer Medium. These are pourable, liquid mediums (as opposed to thick gels). Gloss medium can be mixed with small amounts of paint to create thin translucent glazes that mimic the look of diluted wax washes. Because they’re thinner, fluid mediums self level and show minimal brush texture good for smooth, even layers of “wax” . You can also use fluid medium as an isolation coat (clear layer) to separate collage or painting underneath from subsequent layers .
- Acrylic Glazing Liquid. A specialized medium formulated to extend drying time and increase transparency. Glazing liquid (gloss or satin) is fantastic for creating very sheer, tinted layers for example, a smoky gray glaze over an image to push it back, or a warm transparent gold to unify the piece. It stays wet longer, giving you time to wipe away excess or blend, much like working with oil paint glazes . This is useful in faux encaustic for “aging” or antiquing effects you can rub a glaze into crevices and wipe it off the top surface, imitating how dark wax settles in real encaustic carvings .
- Pouring Medium / Self-Leveling Gel. These mediums (e.g. Golden Clear Pouring Medium or Self-Leveling Clear Gel) allow you to pour a thick layer that levels out to a smooth finish. When dried, a poured layer can look like a thick coat of wax or resin encasing the artwork. Use pouring medium to add a glossy, top layer sheen or to build up substantial thickness for depth (for example, pouring a layer over a collage to appear as if it’s under a layer of clear wax). Note: Pouring mediums often dry high-gloss; if you prefer a waxy matte look, you can lightly abrade the surface or use a matte medium in the final layer. Also allow long drying times for thick pours.
- Clear Tar Gel (String Gel): This is a unique acrylic medium with an extremely syrupy, long string consistency. You can drip or drizzle it to create filaments and threads that hold their shape briefly, then level out. Tar gel dries to a gloss, crystal clear film. It’s useful for adding dripped or web like wax effects for instance, you could simulate the look of dripped wax by trailing tar gel across your surface. It’s also great for making acrylic “skins” (dried sheets of medium you can collage in). One caveat thick tar gel layers can stay tacky for a long time, so use thinner applications or be patient. Liquitex makes a similar product called String Gel.
- High Solid Gel / Modeling Paste. If you want to emulate the texture of encaustic (which can be built up very thick), high-solid gels or even acrylic pastes can help. For example, Extra Heavy Gel (matte) can be applied with a knife to create ridges and peaks like impasto wax. It dries translucent (matte) in thinner areas and opaque white in very thick areas, so use it underneath more translucent layers or mix a bit of colour into it. Modeling paste is opaque, not translucent, so it isn’t ideal for the see through aspect of encaustic however, you can sculpt it and incise it, then cover with translucent glazes or gels to simulate carved wax.
By combining these mediums, you’ll be able to control transparency vs. opacity, gloss vs. matte sheen, and thickness of your layers to convincingly fake an encaustic look.
Step by Step Faux Encaustic Technique
Below is a step-by-step guide for creating a faux encaustic painting using acrylics, collage, and the mediums above. This process mimics the classic approach of layering in encaustic: starting with an image or underpainting, then adding multiple translucent layers with occasional embeds or alterations between layers, I use Golden Heavy Body acrylic paints within these processes as Golden Open paints I have found the drying times to be much longer, always test all of your materials before committing to a project.
- Prepare Your Panel: If using a wood panel or board, ensure it’s primed (a coat of acrylic gesso is recommended). Working on a white ground will make translucent layers appear more luminous, while a toned ground will show through the “wax” for a different mood. Tape off the sides of the panel if you want to keep them clean, or plan to incorporate them into the piece. An idea is to use acrylic ink on the panel sides prior to priming the face and before taping up, black or sepia look good although you can use any colour. Its harder to use ink if primer gets on the panel sides.
- Create an Underpainting or Collage Base, Begin by developing the base imagery on your panel. This could be as simple as blocks of colour, or a fully realized painting that will later be obscured by “wax.” You can also collage elements at this stage by adhering papers or photos with a layer of acrylic gel (I use gloss gel here for strength and transparency ). Make sure any collage bits are completely glued down with no lifted edges (apply gel under and over the piece of paper to sandwich it). Let this base layer dry thoroughly before the next step.
- Mix a “Wax” Medium Layer. In a disposable cup or palette, mix a batch of faux encaustic medium. A good general-purpose mix is acrylic medium and the smallest amount of acrylic paint. For example, take a dollop of Soft Gel (Matte) and tint it with a drop of fluid acrylic colour. To mimic clear beeswax, use very little paint just a drop of a golden or amber hue (such as Naples Yellow + a touch of brown or Quinacridone gold) will give a warm tint. Tip: Wet acrylic gel looks cloudy but will dry more transparent colours will appear darker/richer after drying. Always test your mix on scrap paper and dry it to see the final colour.
- Apply the First ‘Wax Layer’. Use a palette knife or a broad brush to spread your tinted medium mix over the panel. Imagine you are frosting a cake, you can cover the entire surface or selectively apply medium to certain areas. For a textured wax look, try a crisscross brushstroke or swirling knife application; for a smoother look, brush in one direction or even out with a blade. Don’t worry about perfectly even coverage variation adds to the organic look. This first layer will veil your underpainting slightly, just like a thin coat of wax would. Allow it to dry completely until it’s clear (milky white areas mean it’s still wet).
- Fuse (Dry) and Repeat Layers. In true encaustic, you’d now fuse with heat; in acrylic, the “fusing” is simply letting each layer dry and bond. Once layer 1 is dry, continue building up additional layers of acrylic medium. You can alternate clear layers and tinted layers for depth. For instance, you might brush a layer of untinted Clear Gloss Medium next to give a fully transparent coat, then follow with another tinted matte layer. Each coat adds a sense of depth, as imagery from the bottom peeks through hazily. If you trapped any air bubbles in a thick layer, you can gently pop them with a pin or use a small heat gun briefly, though acrylic gels generally level out bubble-free if applied carefully.
- Embed Collage or Images Between Layers (Optional). One of the joys of encaustic is embedding items. With acrylic, you can do this by pressing thin objects into a wet gel layer. For example, brush a layer of soft gel over your piece, then lay a piece of tissue, printed transparency, or a leaf onto it. Gently press it in and apply more gel on top to completely encapsulate it. This is akin to placing an object in wax. Let it dry. The object will appear as if floating under a translucent veil. You can build many layers this way e.g. an image at the bottom, covered by tinted medium, then another image higher up to create a collage with real depth.
- Carve or Incise into the Acrylic. If you apply a thick layer of heavy gel and want to simulate the carved lines of encaustic, you can “incise” the acrylic. Let the gel layer set up until it’s firm but not fully hardened (this might be 30–60 minutes, depending on thickness, it should be tacky but not liquid on top). Then use a pointed tool (palette knife tip, skewer, or old pen) to scratch lines or shapes into the layer. For example, you might draw spirals, crosshatches, or outlines. Once the layer dries, these incised lines can be highlighte, rub a contrasting colour into them. A common encaustic technique is to fill carvings with oil paint or oil pastel and wipe off the excess, leaving dark lines. You can do the same with acrylic use a tiny bit of fluid paint or even watercolour crayon, apply into the crevices, and gently wipe the surface. The stain will remain in the incised lines, giving an antiqued effect .
- Apply Antiquing Glazes (Optional). To enhance the aged, layered look, you can tone the whole piece with a transparent glaze. Mix a few drops of a dark acrylic colour (burnt umber, Payne’s gray, etc.) into glazing liquid or soft gel gloss (plus a touch of water). Brush this thinly over areas of your painting and then immediately wipe it back with a rag the tint will stay in recessed areas and knock back any overly bright patches . This mimics the effect of wax that has been etched and rubbed with pigment. You can do this selectively (e.g. around the edges for vignette, or wherever you want a smoky look). Layering a coloured glaze between clear layers is another approach: for instance, a golden glaze sandwiched between two clear layers can give an inner glow.
- Build Up to Finish. Continue alternating medium layers and any interventions (collage, incising, glazing) until you are happy with the result. There’s no fixed rule some artists do just 2–3 layers, while others might do a dozen ultra-thin layers for maximum depth. Remember: acrylic layers will always dry clear or translucent, revealing all the layers below. If something becomes too obscured, you can paint on top to bring back detail, or if something is too bold, add more medium to subdue it. Embrace the experimental nature of the process.
- Topcoat and Curing, Once finished, let the piece cure flat for a day or two. A final topcoat can unify the sheen: for a glossy look (resembling polished wax or resin), apply a layer of clear gloss gel or self-leveling gel over the entire surface. For a more matte, authentic wax feel, use a layer of Matte Medium or Matte Gel as your last coat this will dry with that subtle waxy sheen avoid mixing matte and gloss in the final coat to prevent cloudiness; if you need a satin finish, use a premixed satin/semi-gloss medium or varnish.) If the finished surface feels tacky (which can happen if very thick glossy gels were used), you can seal it with an isolation coat of acrylic medium then a removable varnish. Many artists skip varnish to keep the texture intact, but it’s an option.
- Tip: A completely matte final layer can be gently buffed with a soft cloth once dry, just like one might buff real wax, to give a pleasant soft glow.
Following these steps, you’ll have a layered mixed media piece that looks like it was created with molten wax, but is actually all acrylic. The key is building up transparent layers and treating the acrylic medium almost as if it were wax encasing, layering, and occasionally distressing it to reveal what’s beneath.
Please adhere to all product safety notices and make sure you have adequate ventilation and cleanup materials to hand.
Part 2 follows later in 2026
©️2026Graeme Webb
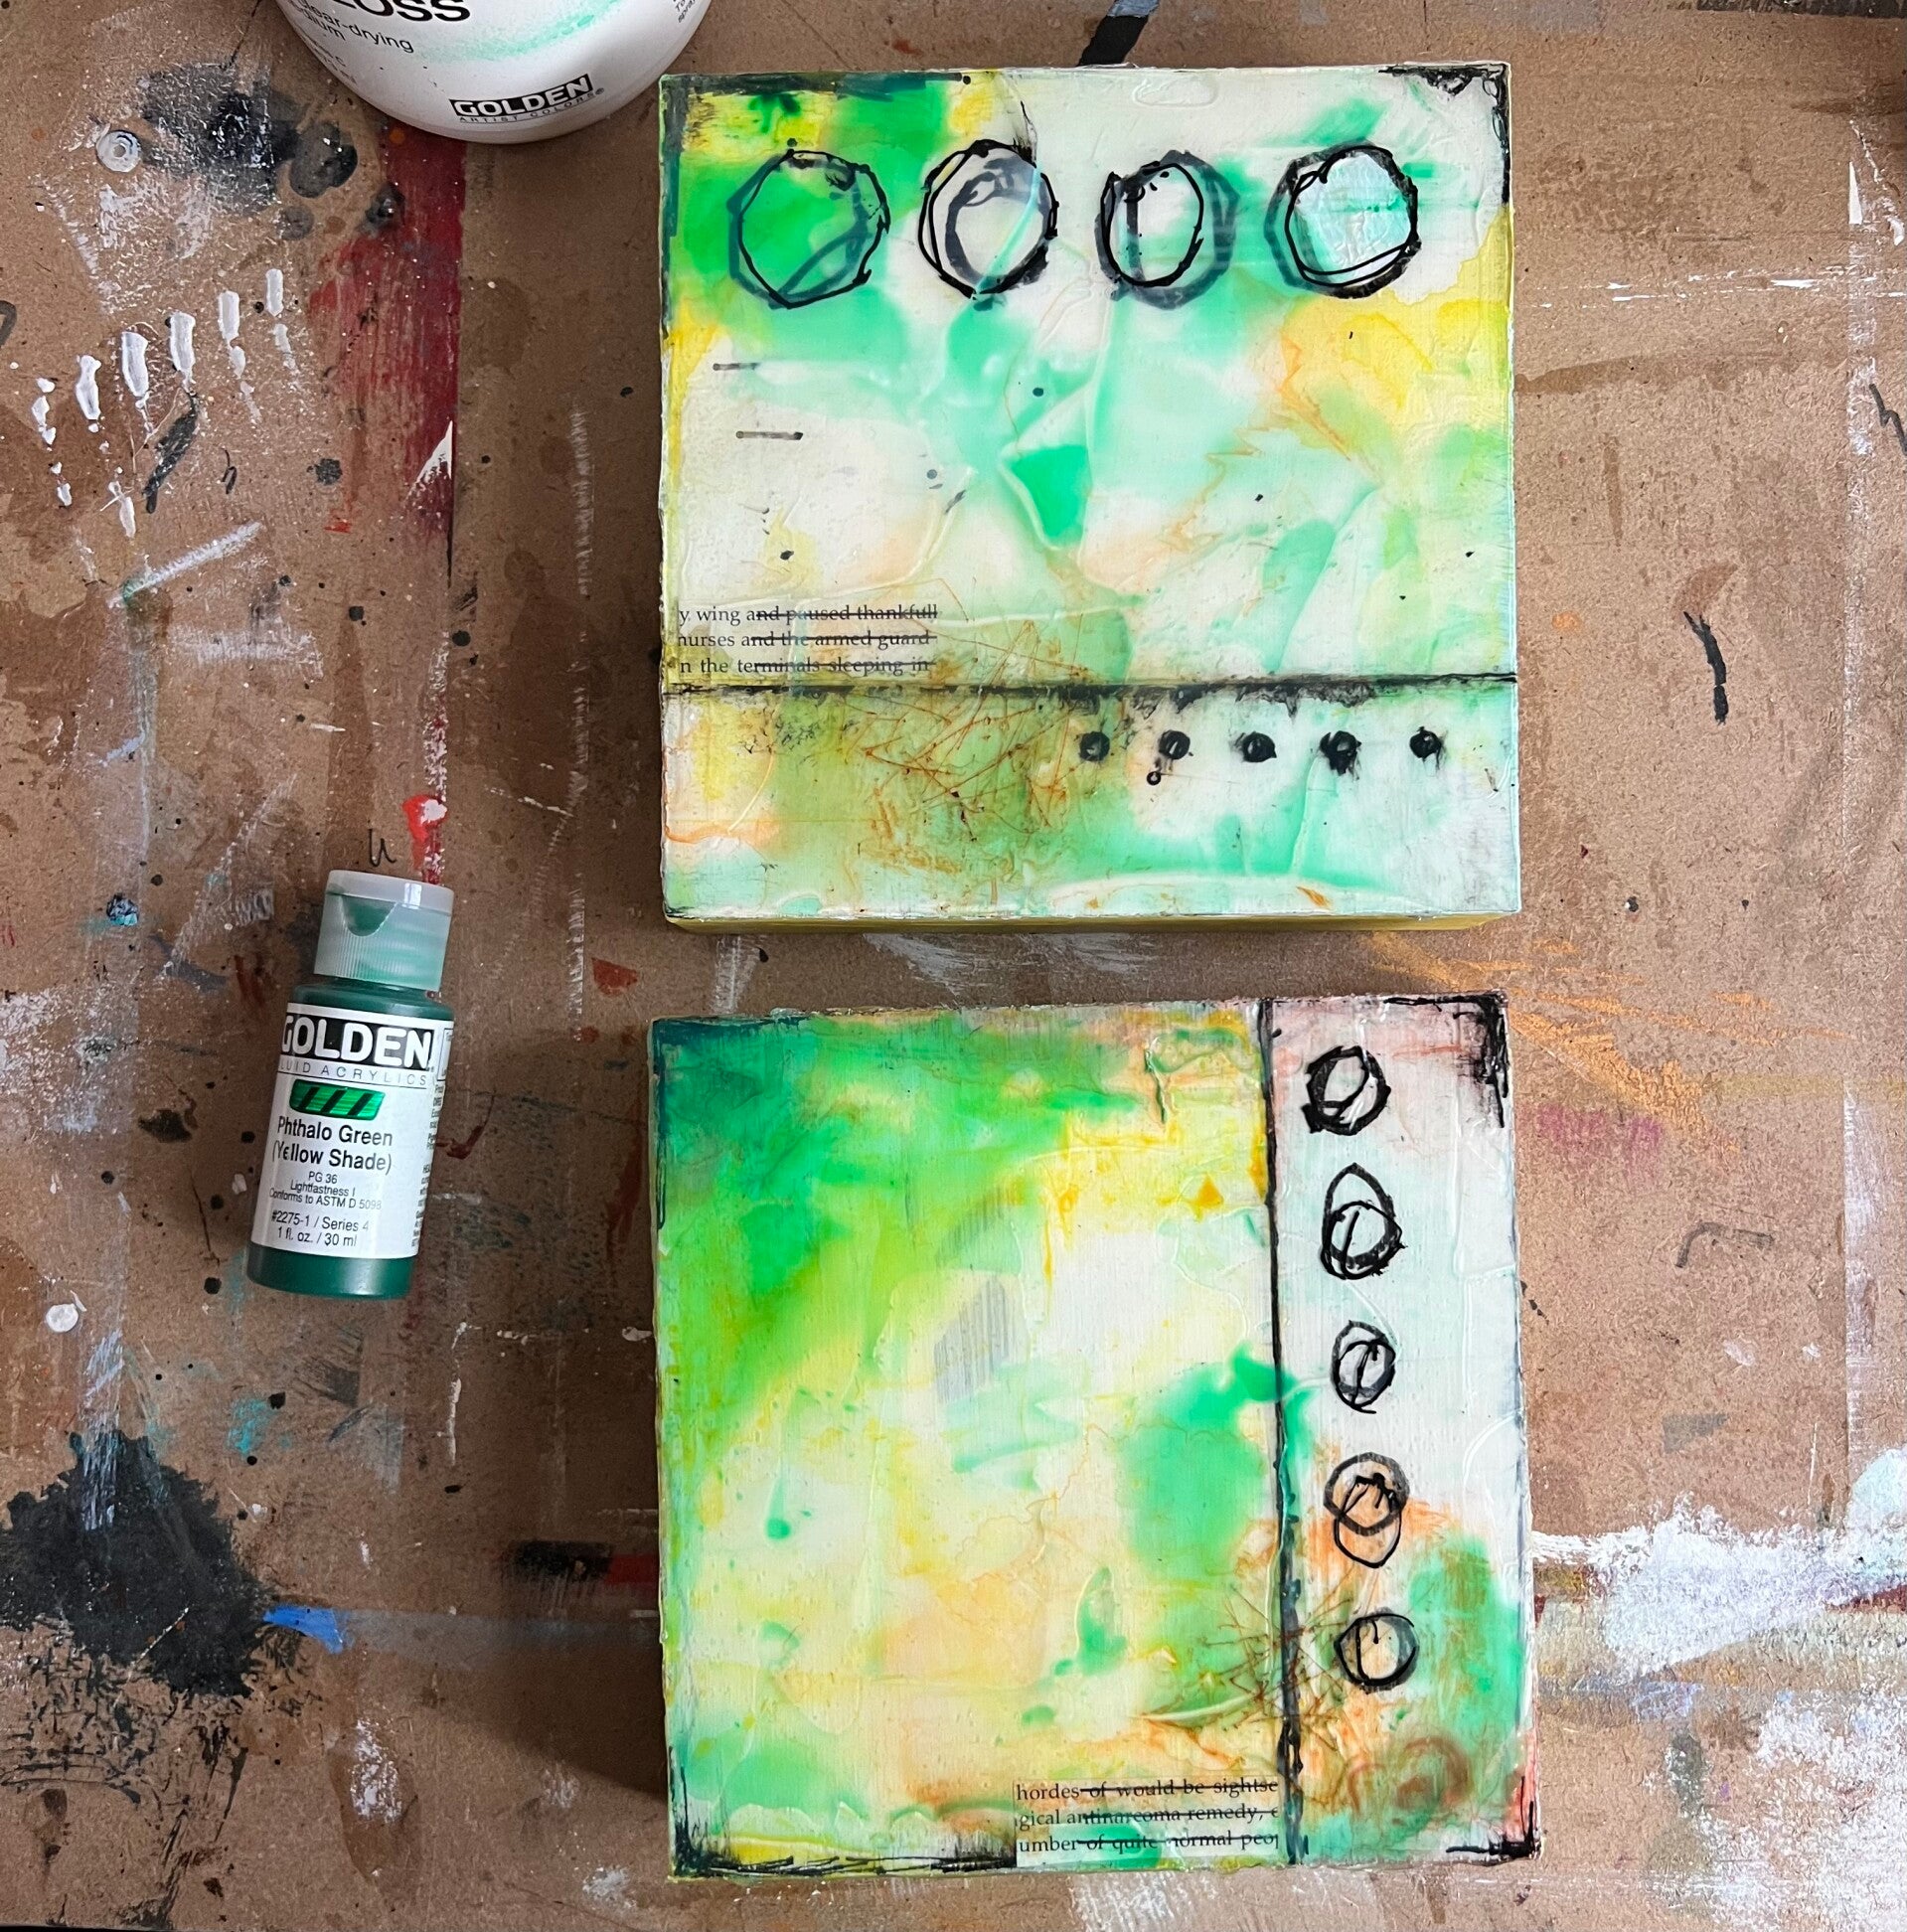
Layering on Golden Acrylics soft gel gloss medium.
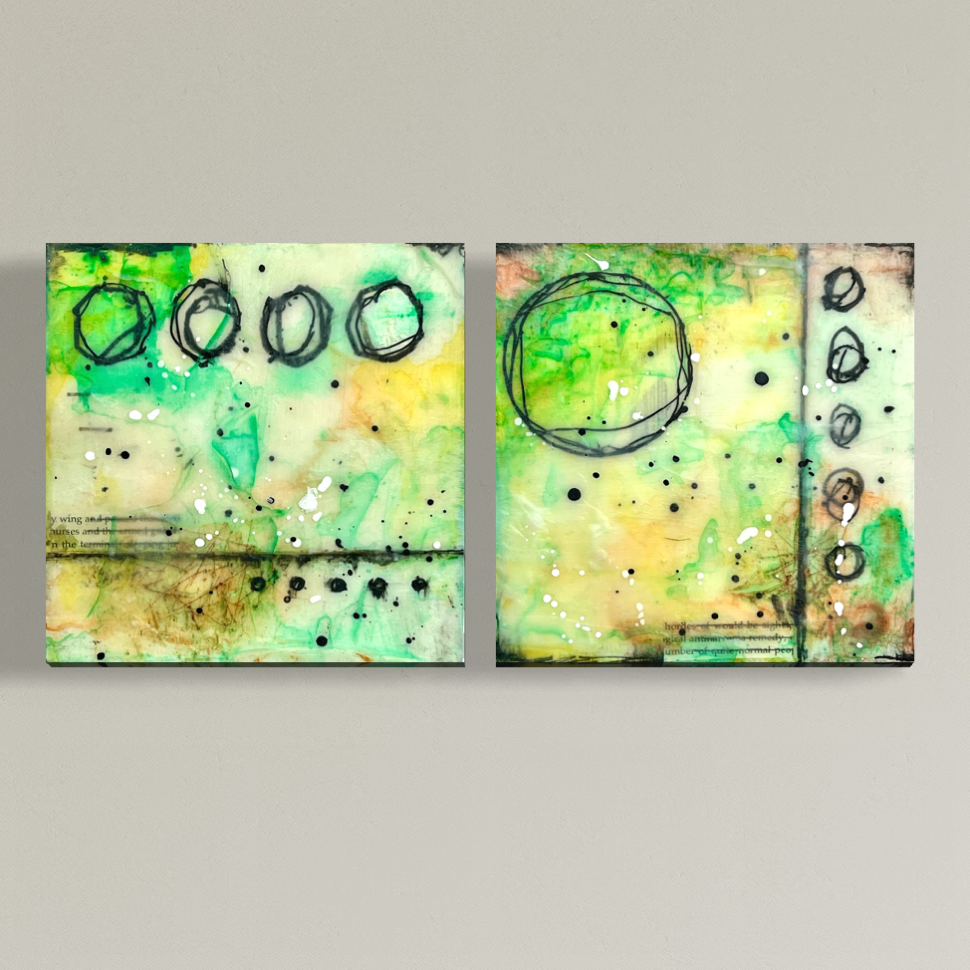
Adding a thin glaze of Burnt Sienna to the 3rd layer of these 2 faux encaustic panels.


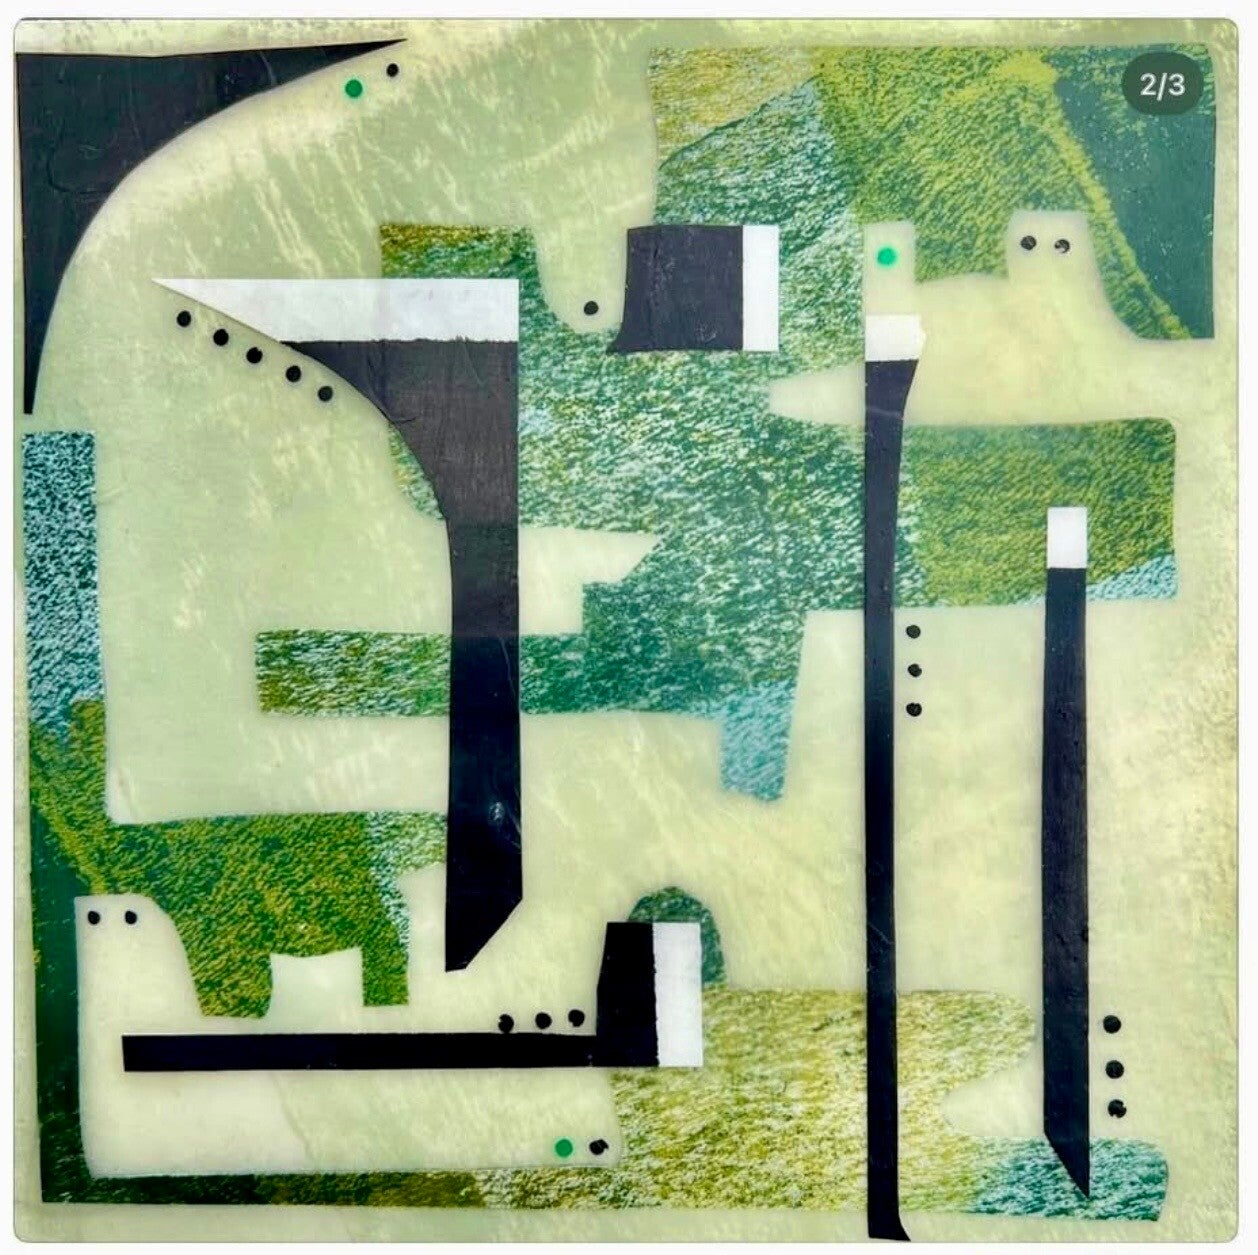
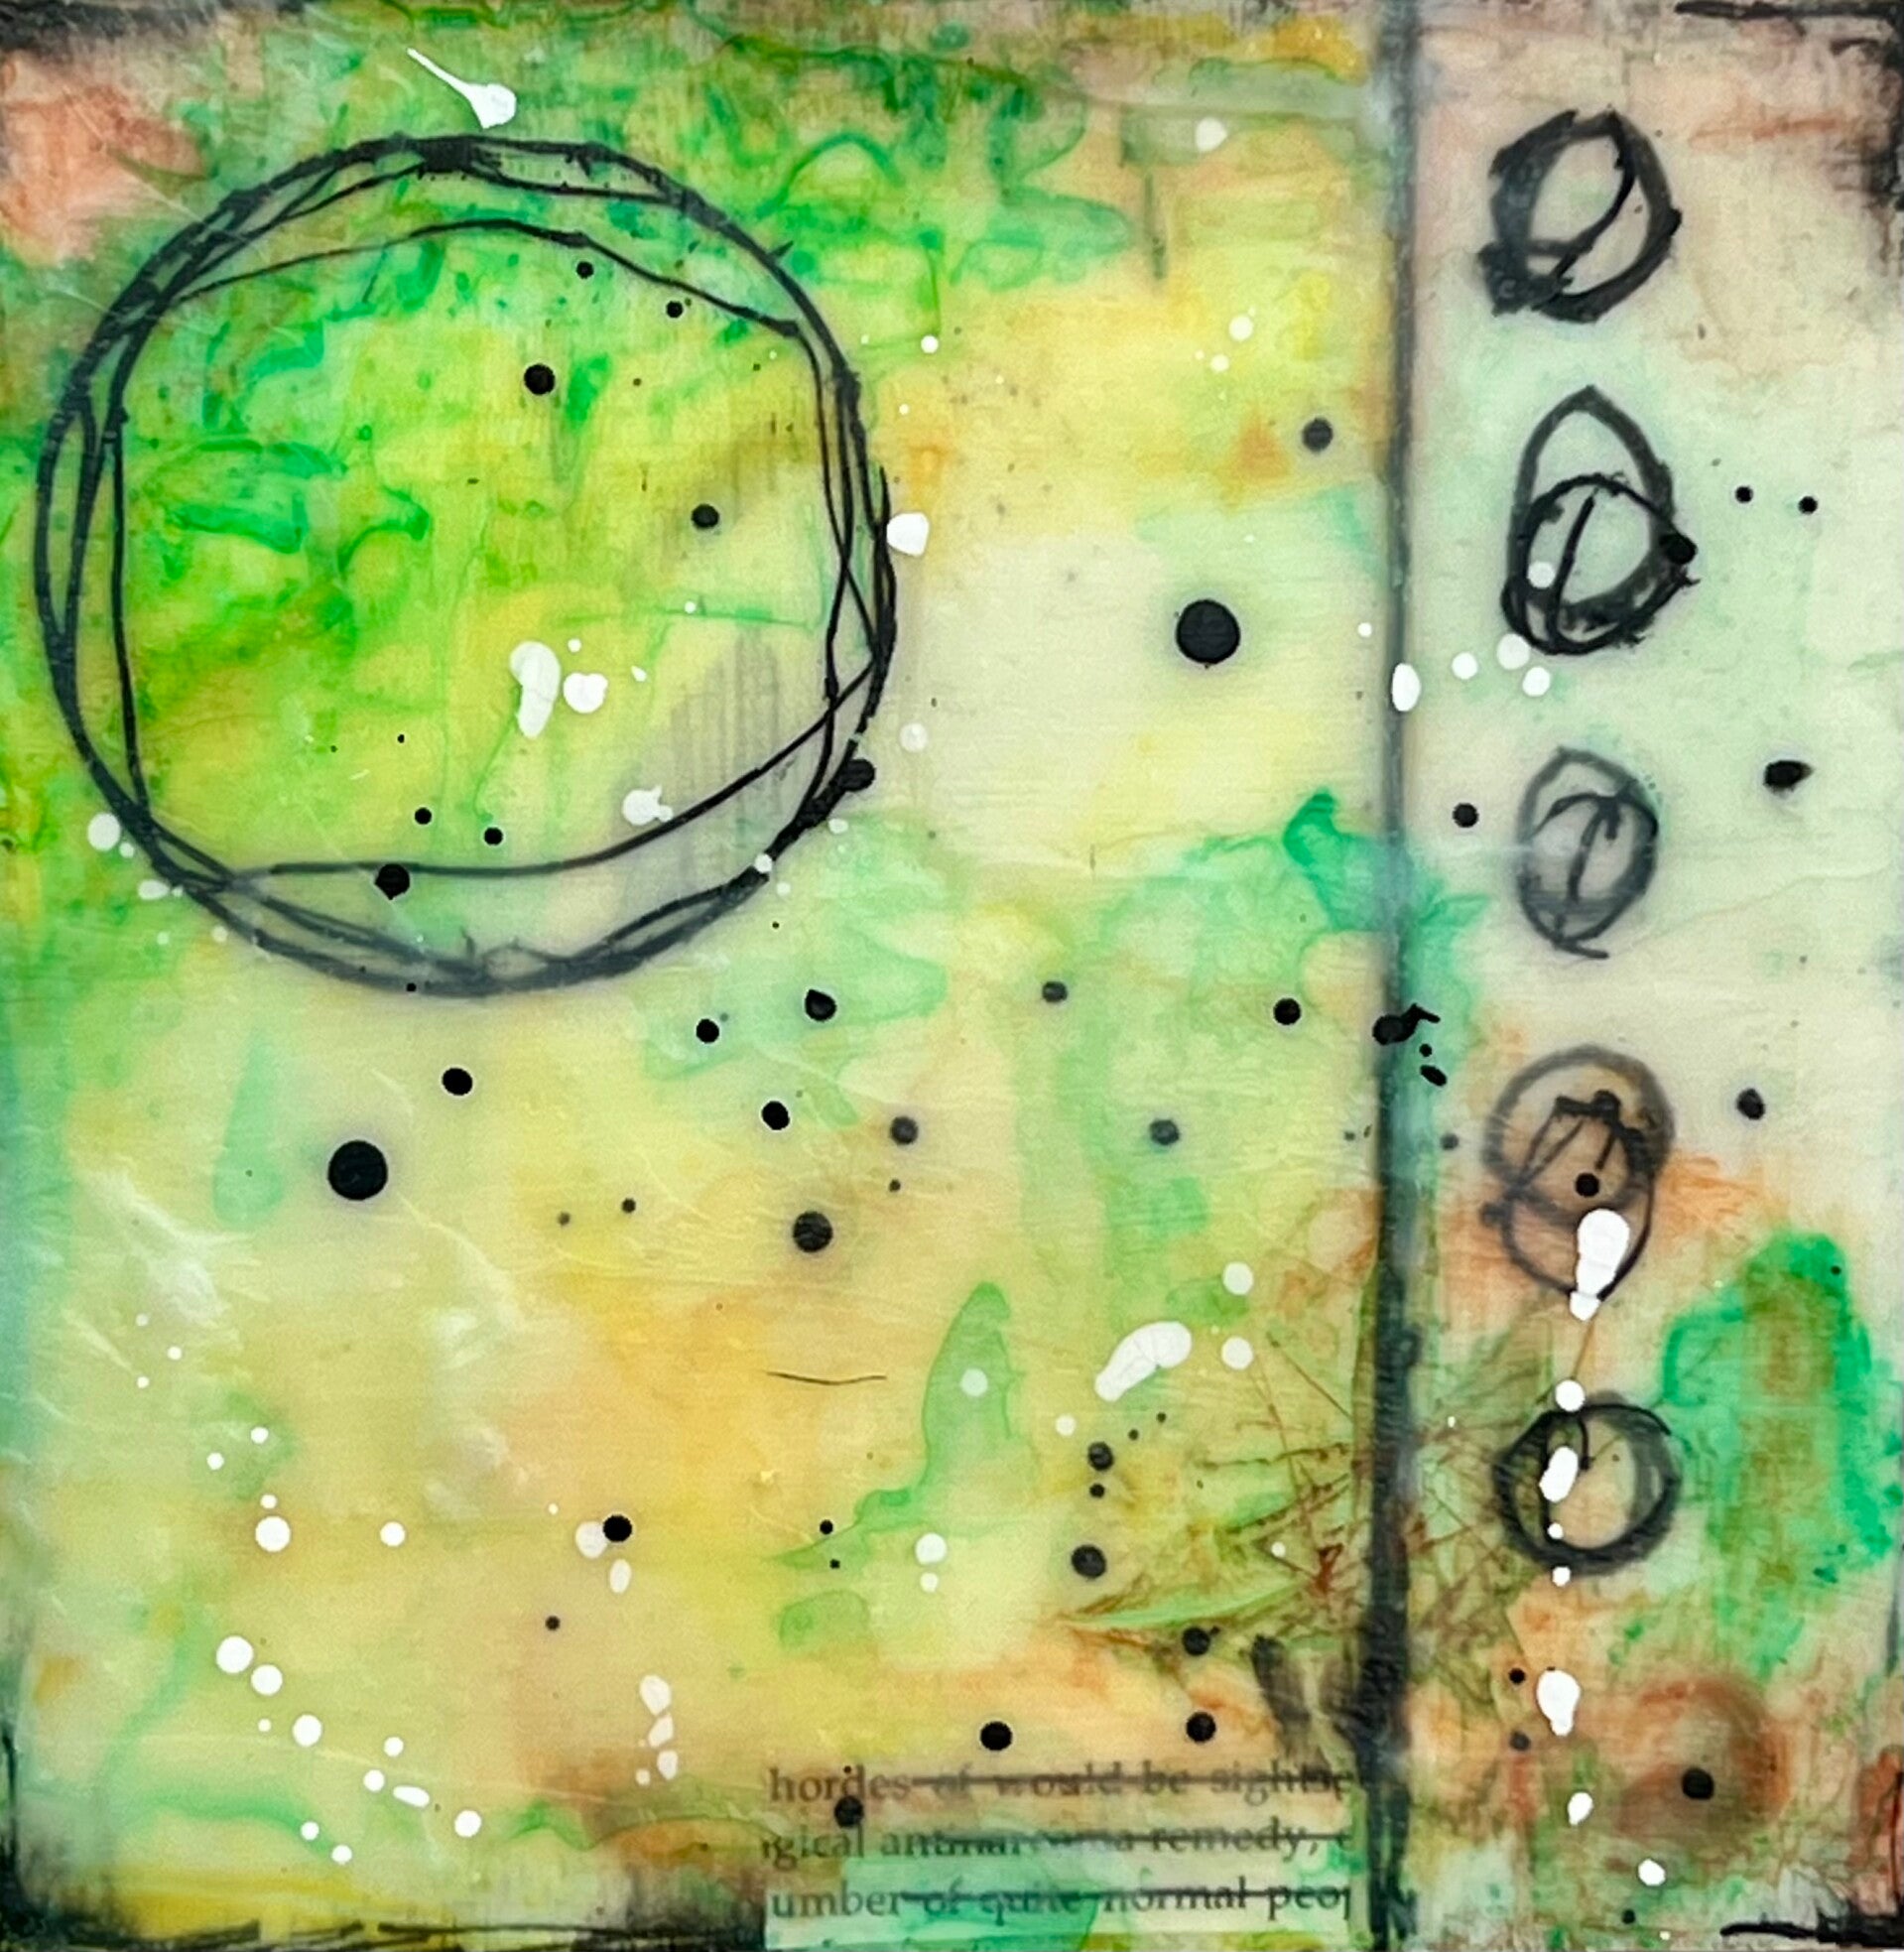
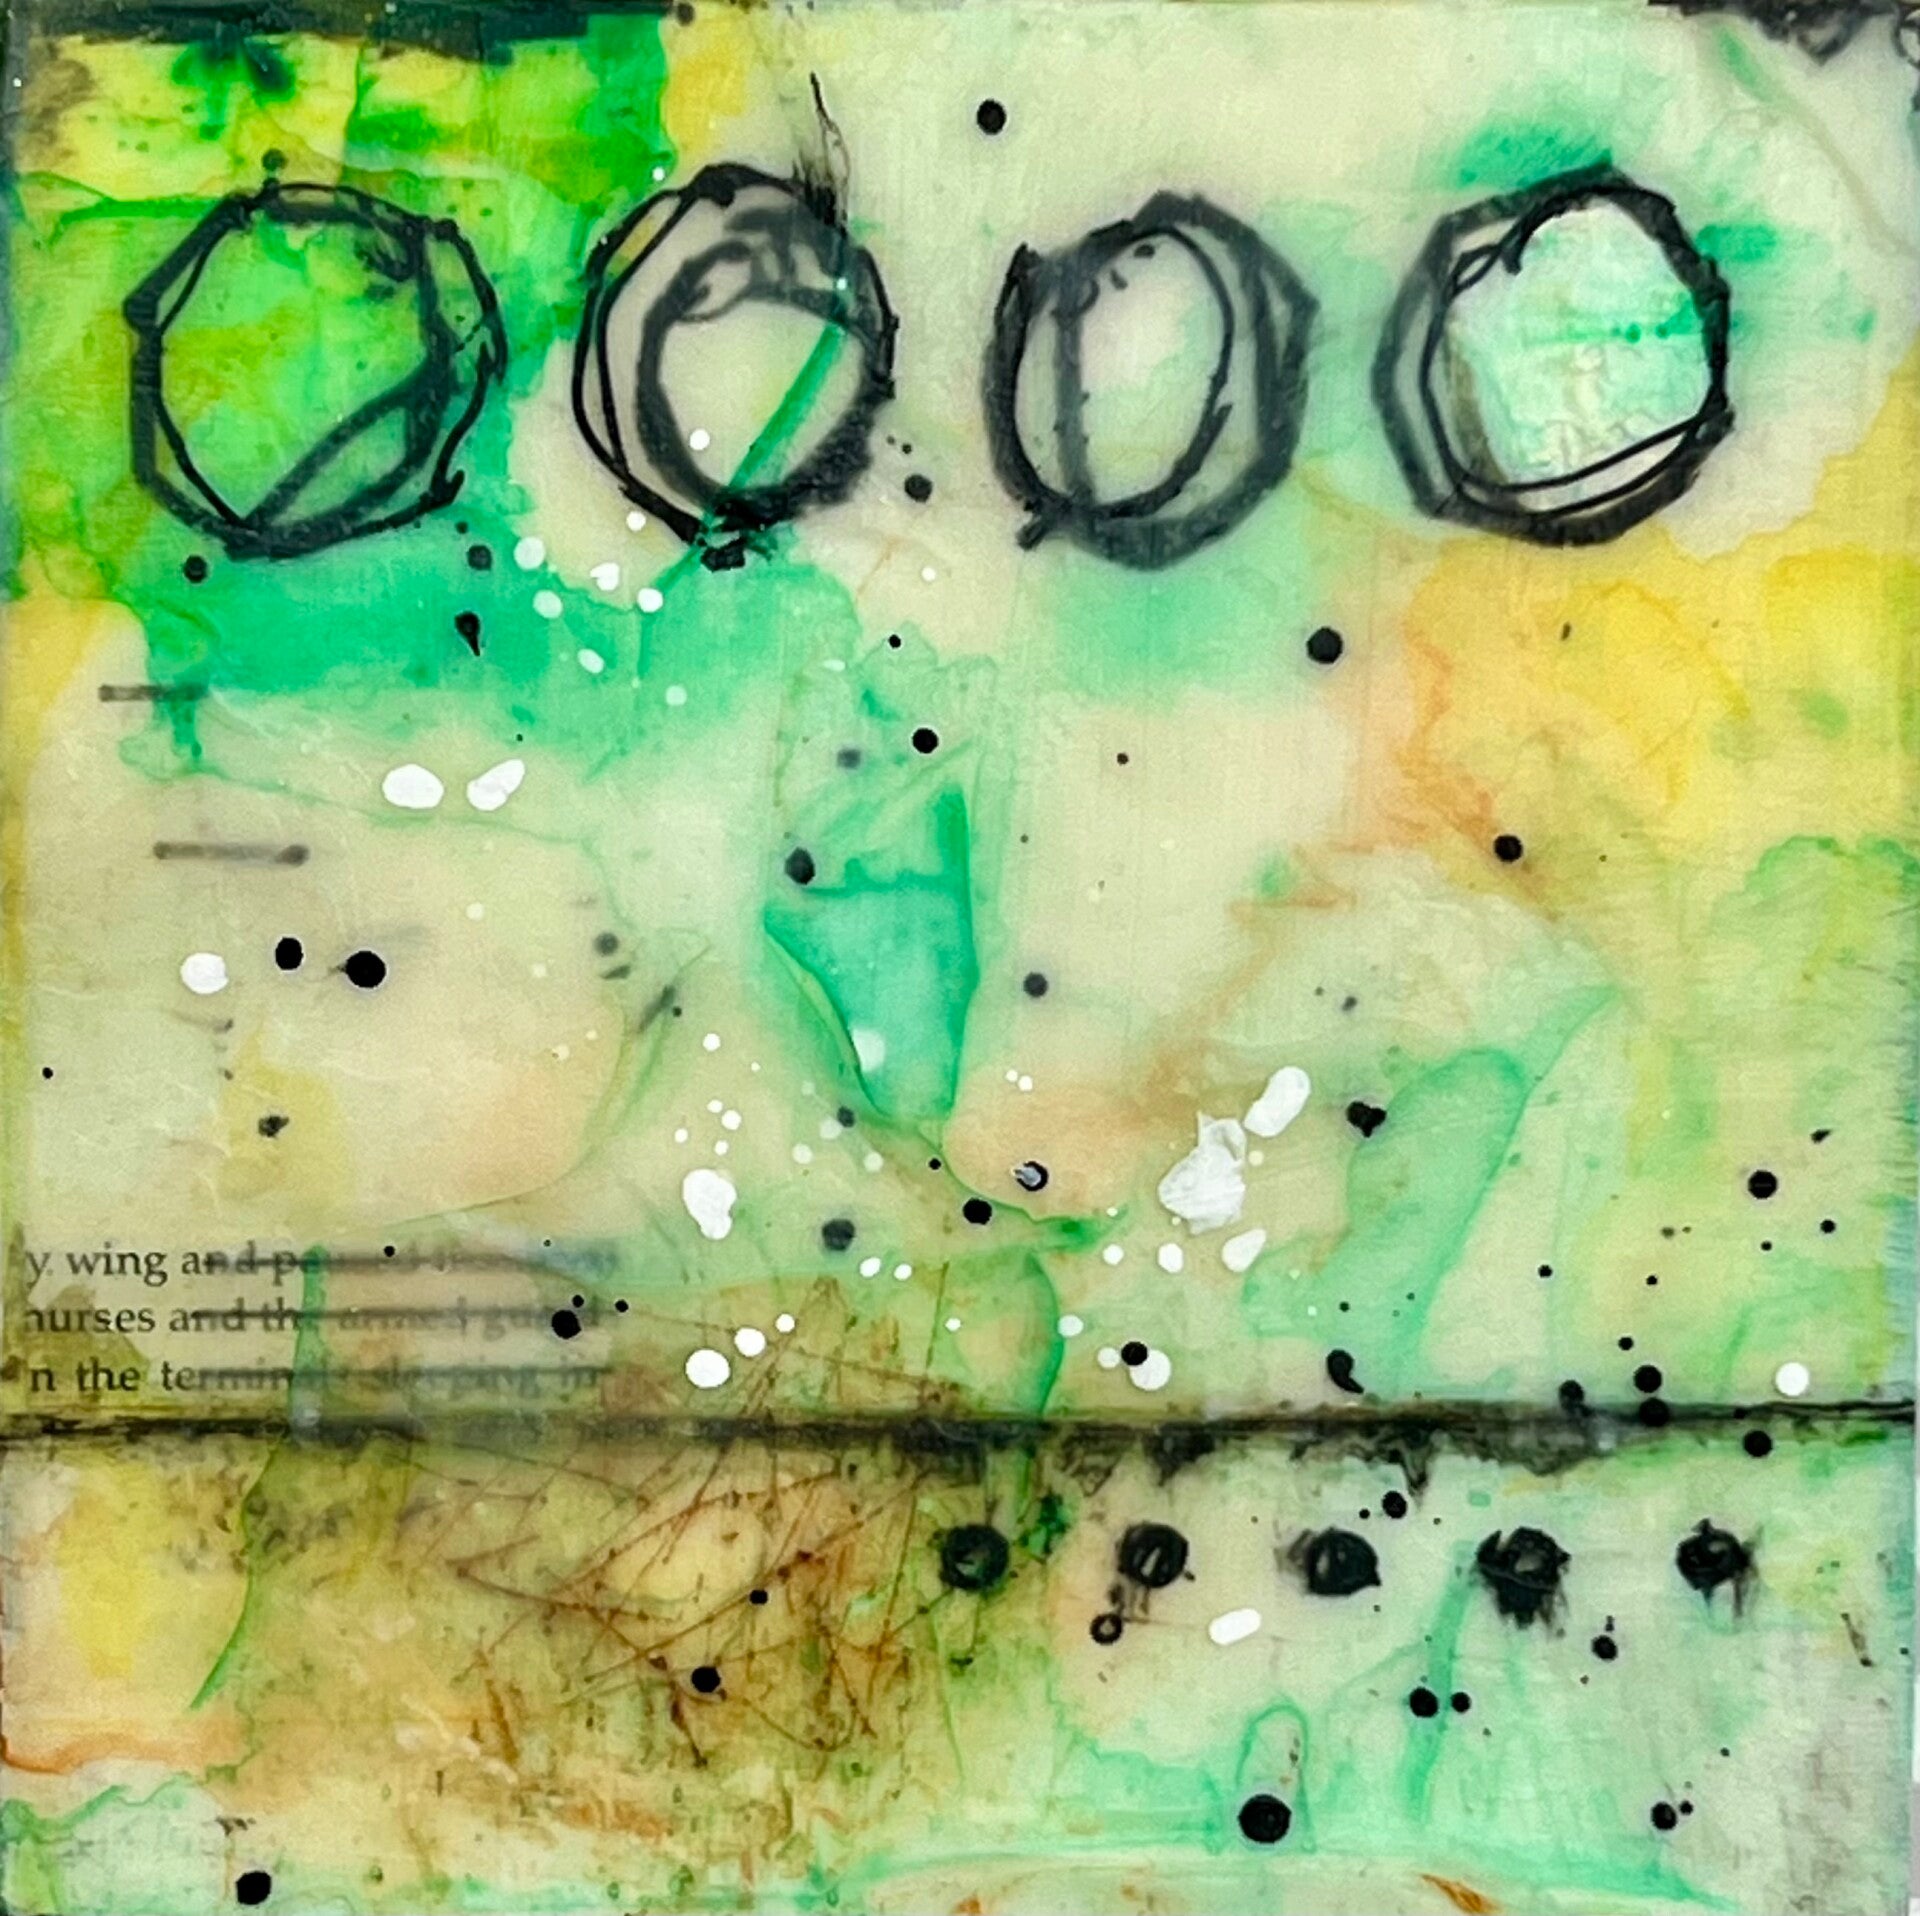
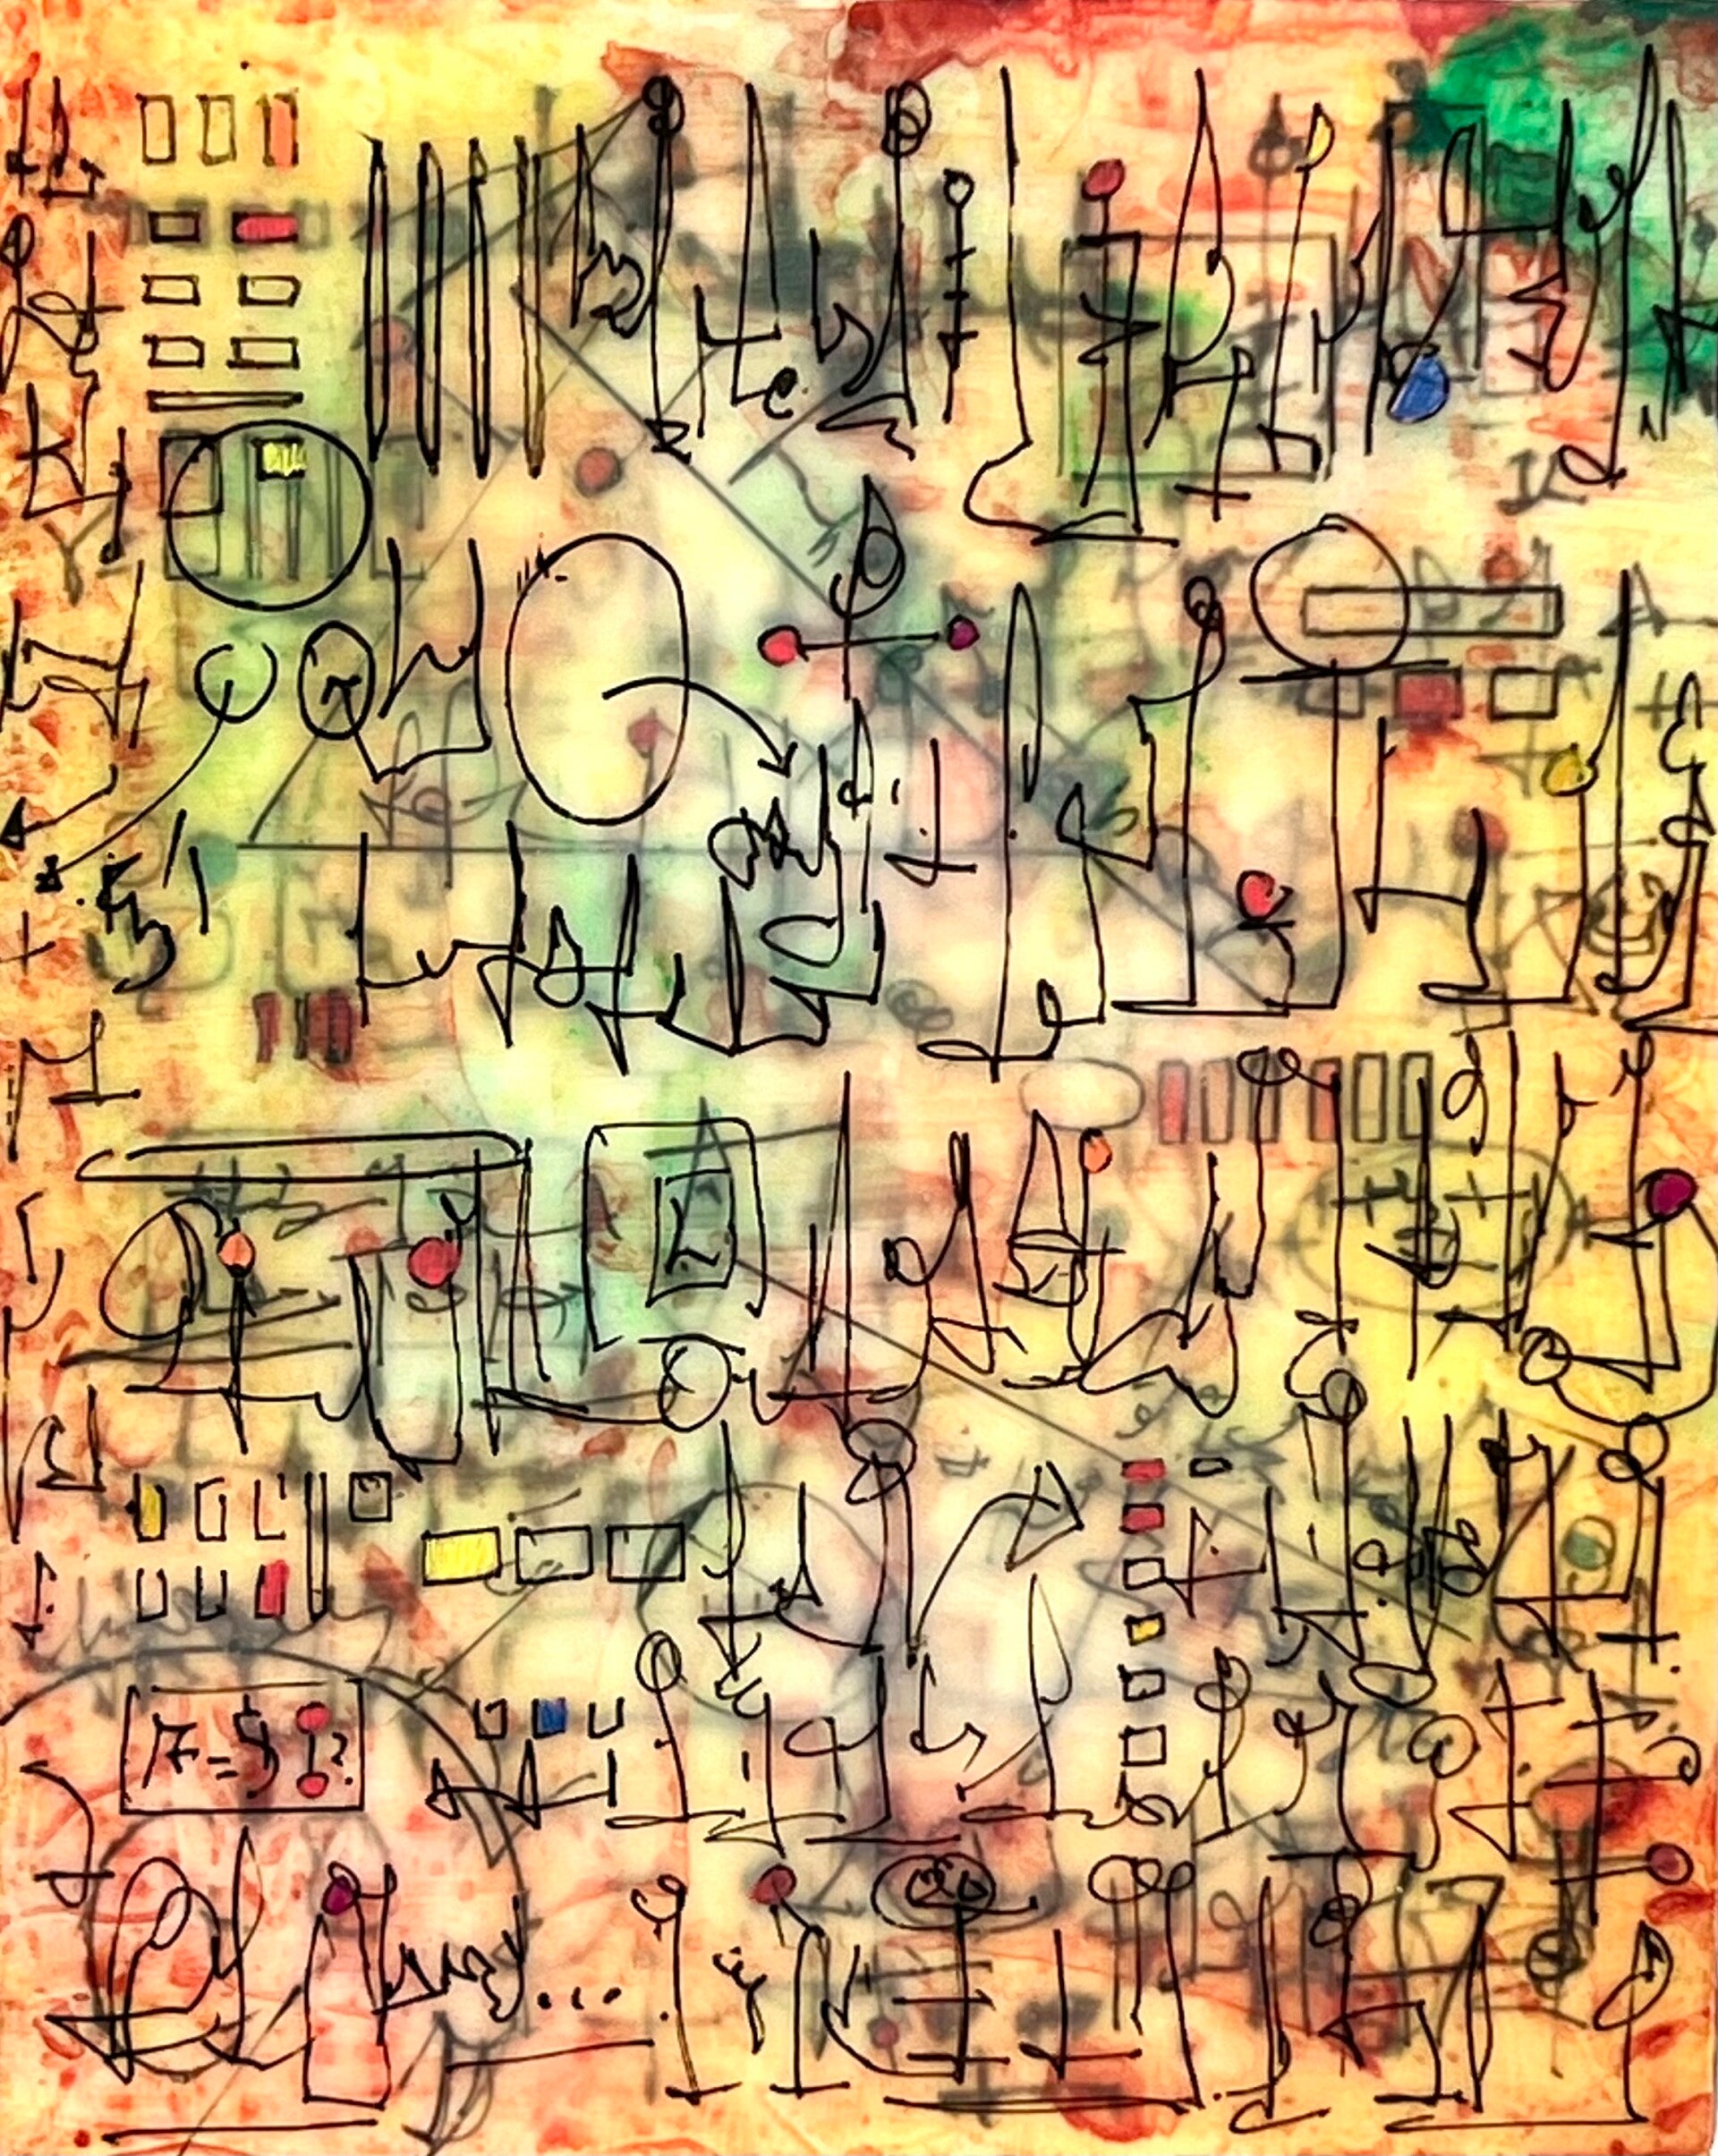
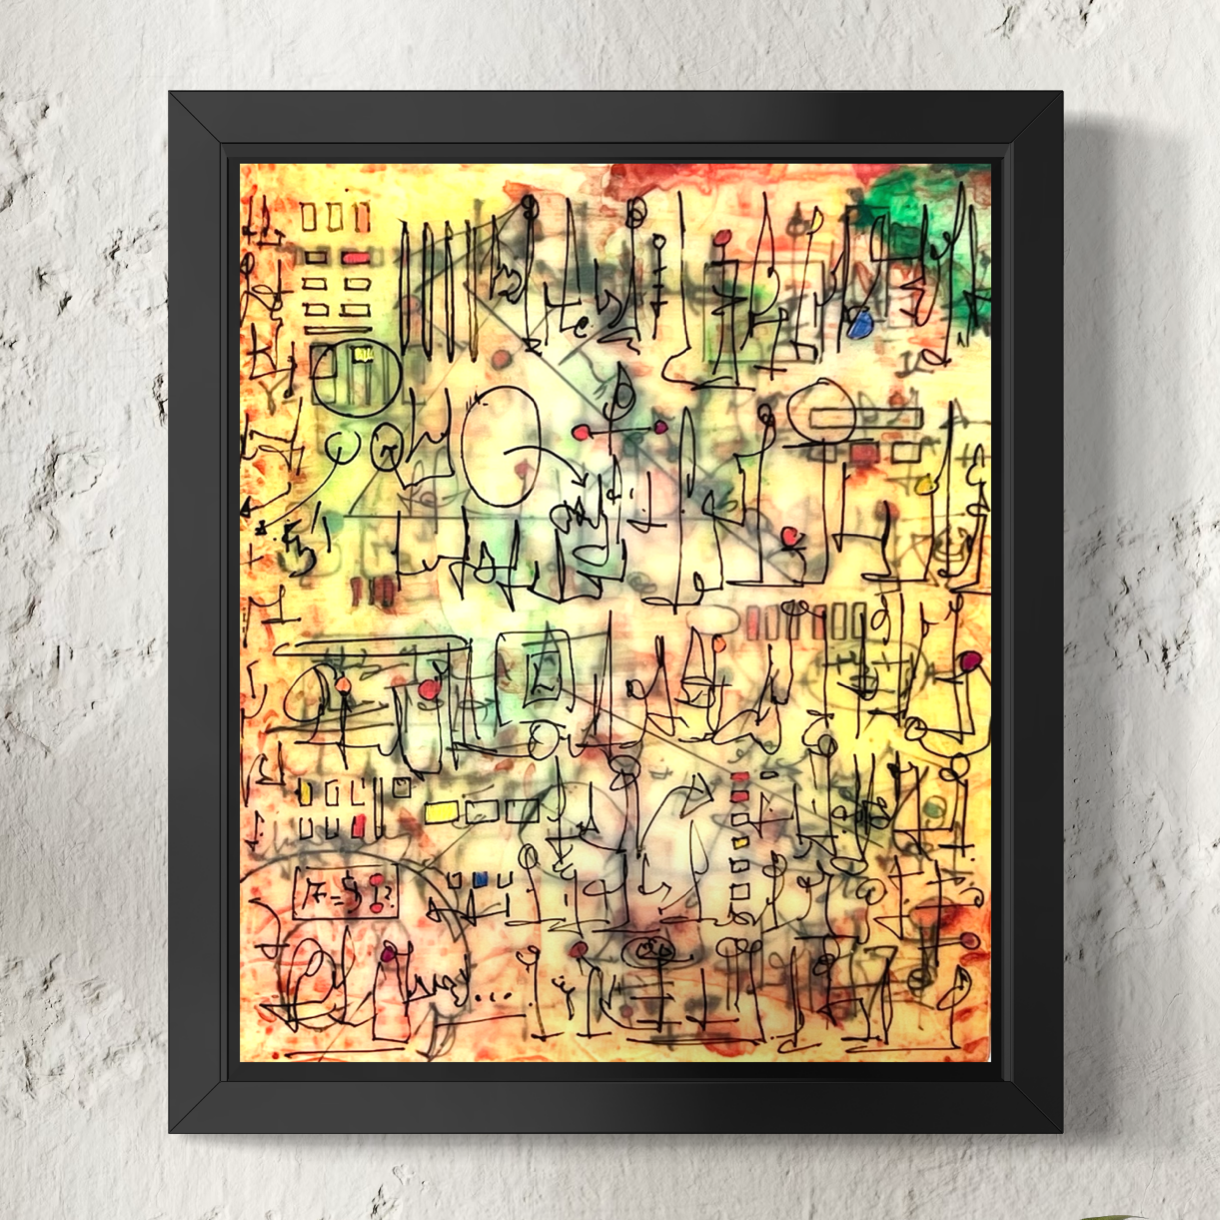
Faux Encaustic Collage by Graeme Webb
Add comment
Comments